I will assume that the reason why you’re reading this article might be that you’re a designer looking to improve the final output of your interaction ideas or you’re just interested in methods of how other people are handling stuff like this on a daily basis. If this captured your interest, you’re in for a treat!
I’m writing this blog post as two-part mini series in a collaboration with my colleague and front-end developer, Karlo Videk. I will focus on design stuff and he will explain his voodoo from a more technical standpoint.
As a digital industry (I’m referring to anything that needs a good UI/UX services) is rapidly changing, it became challenging to adapt to those changes using methods or tools that previously worked just fine. Usually, design creations were imagined as a balanced mix of good information architecture, carefully considered personas, logical flows, appealing design, etc. Our workflow was trying to mix and match all of the previously mentioned ingredients to create a positive experience for the user.
The often-neglected component of that experience is animation (UI animation to be more precise). This is not surprising, because, up until a few years ago, animation skills were not generally something that a digital designer would have in their skillset. As we designers added motion thinking to this skillset, there was this increasingly larger gap between designers’ ideas and technical feasibility in a given time constraint. Communicating motion by using words was hard.
Fortunately, there are a ton of tools that can help you make (and communicate) UI animation: Flinto, Framer, Origami, Principle. For today’s blog post, we’ll focus on Principle.
Why Principle and not some other tool?
I’ll try not to start some heated debate over animation tools, so I’ll just say this is a matter of your personal preference, your code savviness and results that a particular tool can produce.
One great advantage of Principle is that it gives you all raw values in a source file which can be used for a more precise translation into a coded animation. This, unfortunately, does mean that a developer will need to have Principle installed to be able to see all the values. This will hopefully change somewhere in the future.
To successfully communicate interaction, it is best to go by an example (find cool examples on the web and talk with front-end) or by your own quick prototype. Think of it like this — if you need to show your design, then you need to show your interaction, too.
To build your own prototype, you can use some principles (see what I did there?) that I use to set up a good foundation for my animations.
Note that this is somewhat of a “template” thinking and your needs will vary depending on the project, so if you need to break some rules I mention in this text, feel free to do so, as long as you retain that impression you were aiming for.
Stagger elements in a logical order

As material design guidelines say— motion has meaning. In this case, motion helps establish the reading order of text blocks appearing on the page. If done right, it will subtly help users perceive the hierarchy of elements on the page.
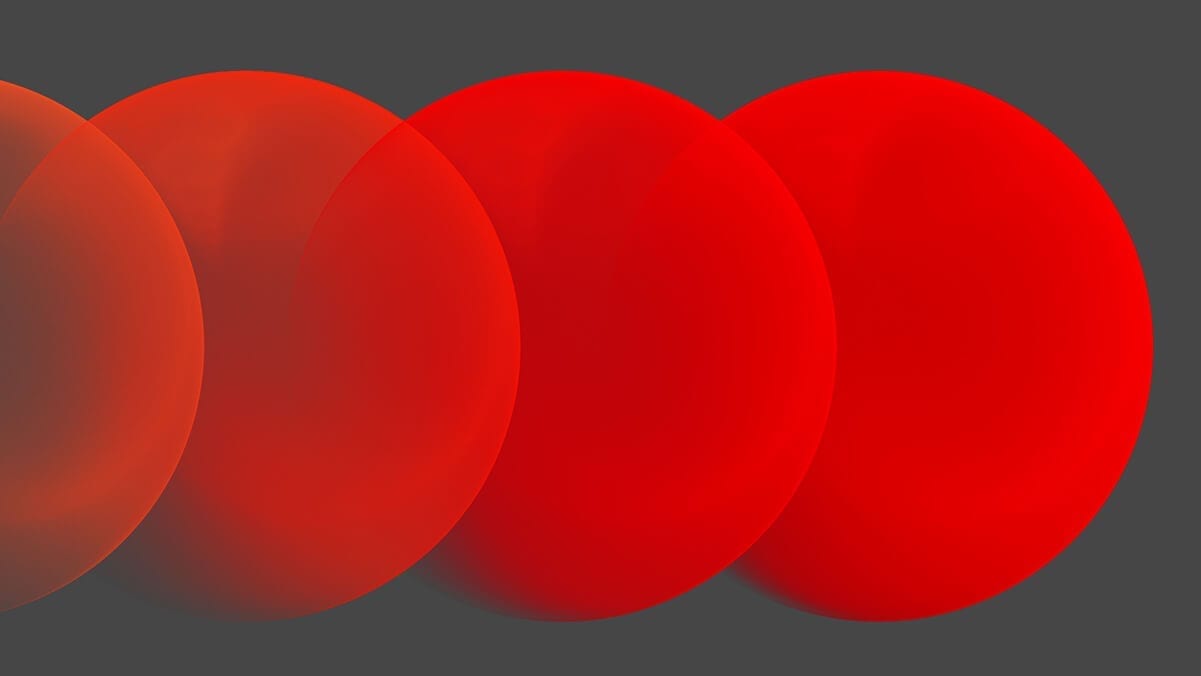
Objects have mass

This means that larger objects on screen travel slower, while smaller are lighter and faster. For example, photos would be larger objects and smaller objects could be share icons.
Single seamless motion

For single transitions, I try not to leave a gap between transitioning elements. Their movement needs to overlap. If it does not, your animation becomes too slow and choppy, and quickly makes users feeling bored.
Unified direction

If a few elements that form a content section or if they’re otherwise connected, they should appear on the stage in a way that’s consistent. If they move as they appear, they should come from the same direction to imply there is a connection between them.
Emphasizing elements

Emphasize elements by animating them last, deemphasize them by making them appear during some other dominant movement.
Break rules and experiment

Apply these rules, but don’t forget to experiment. See what is possible and come up with new stuff.
Use your judgment to restrain yourself
A lot of animations seem to try too hard to show themselves and take up too much time on the stage, and that in turn makes things feel sluggish. Users will appreciate your work only if you don’t get in their way.
Handover time!
Before you handover your source files for design and animation to your favorite front-end developer, make sure you have done the following stuff.
For Sketch:
1. Don’t have fonts or colors you don’t actually use in the file. You can do this by using a Sketch plugin from InVision called Craft. If you make an automatic style guide page out of your Sketch document, you’ll see all your file organisation sins right on that page. The cool thing about the produced colors and fonts is that they are live – if you change them in the styleguide, changes will be reflected on the page where your design is located. So put some of those swatches in the same color and refresh your styles via the “sync styles” button. Voilà – you just saved a kitten.
2. Properly use the grid and have everything neatly aligned.
3. Use layout in Sketch, it’s a helpful tool to keep you in line.
4. Make appropriate stuff exportable. I usually choose all bitmap layers and make them exportable just in case developers need it. The same applies for vector icons. The remaining elements are usually easily reproduced via CSS. Talk with your developer if anything else is required.
5. Ensure that your folder structure in the layer list is logical to the person who sees it for the first time. This basically means that your footer items are not located in your header layer folder. Sometimes this structure will not be as important (for example, if you’re using Zeplin or Avocode for developer handoff), but it’s always nice to have some structure to your layers so some other designer can continue working on your designs.
For Principle:
1. Export your prototype as .mov, so a front-end guy can scrub through the video.
2. Share your sources. Include your Principle source file as it has critical information about animation such as delays, timing and animation curves for animated elements. This is a critical step that will prevent front-end developers from having to guess what you did.
This is where the bulk of design work is finished, but it does not mean that all communication is done. Keep talking and share the knowledge with the developer – this is where innovation happens.
To conclude
1. Communicate animation by example – find links of cool interactions online and/or build your own interaction prototypes.
2. If you are building a prototype, apply principles described above: logic stagger, mass, single motion, unified direction and emphasizing.
3. Break principles, experiment and make it your own.
4. Have your .sketch source file neatly organized.
5. Give Principle source file and exported video to front end-developer, so it can be used for exact values.
Stay tuned for a more developer-friendly continuation of this mini-series by my friend and colleague Karlo! 🙂
_____
Thank you for reading! As a small bonus for your attention span, I have attached principle source files for every animation example featured in the article. Hopefully, it will help you jumpstart your animation work.
Also, you can follow me on Dribbble (yes, it’s a shameless plug) where I share source files for some of my animation work.